Javascript is not enabled.

Javascript must be enabled to use this site. Please enable Javascript in your browser and try again.

Skip to content
Content starts here
CLOSE ×
Search
Leaving AARP.org Website

You are now leaving AARP.org and going to a website that is not operated by AARP. A different privacy policy and terms of service will apply.

AARP Smart Guide to Cleaning Your Car

Keep your ride spotless with these 45 tips


spinner image Illustration of red car in a bubble with smaller bubbles around it
AARP (Getty Images, 3)


We Americans love our cars, but with busy schedules hauling around groceries, kids and pets, they can be a challenge to keep tidy. Here, we provide tips from industry professionals on how to best clean your vehicle’s interior, exterior, storage and under-hood systems, plus advice on protecting these areas from filth and corrosion. Hopefully, our smart guide will help you clean your car like a dream — and keep it shining for miles to come!

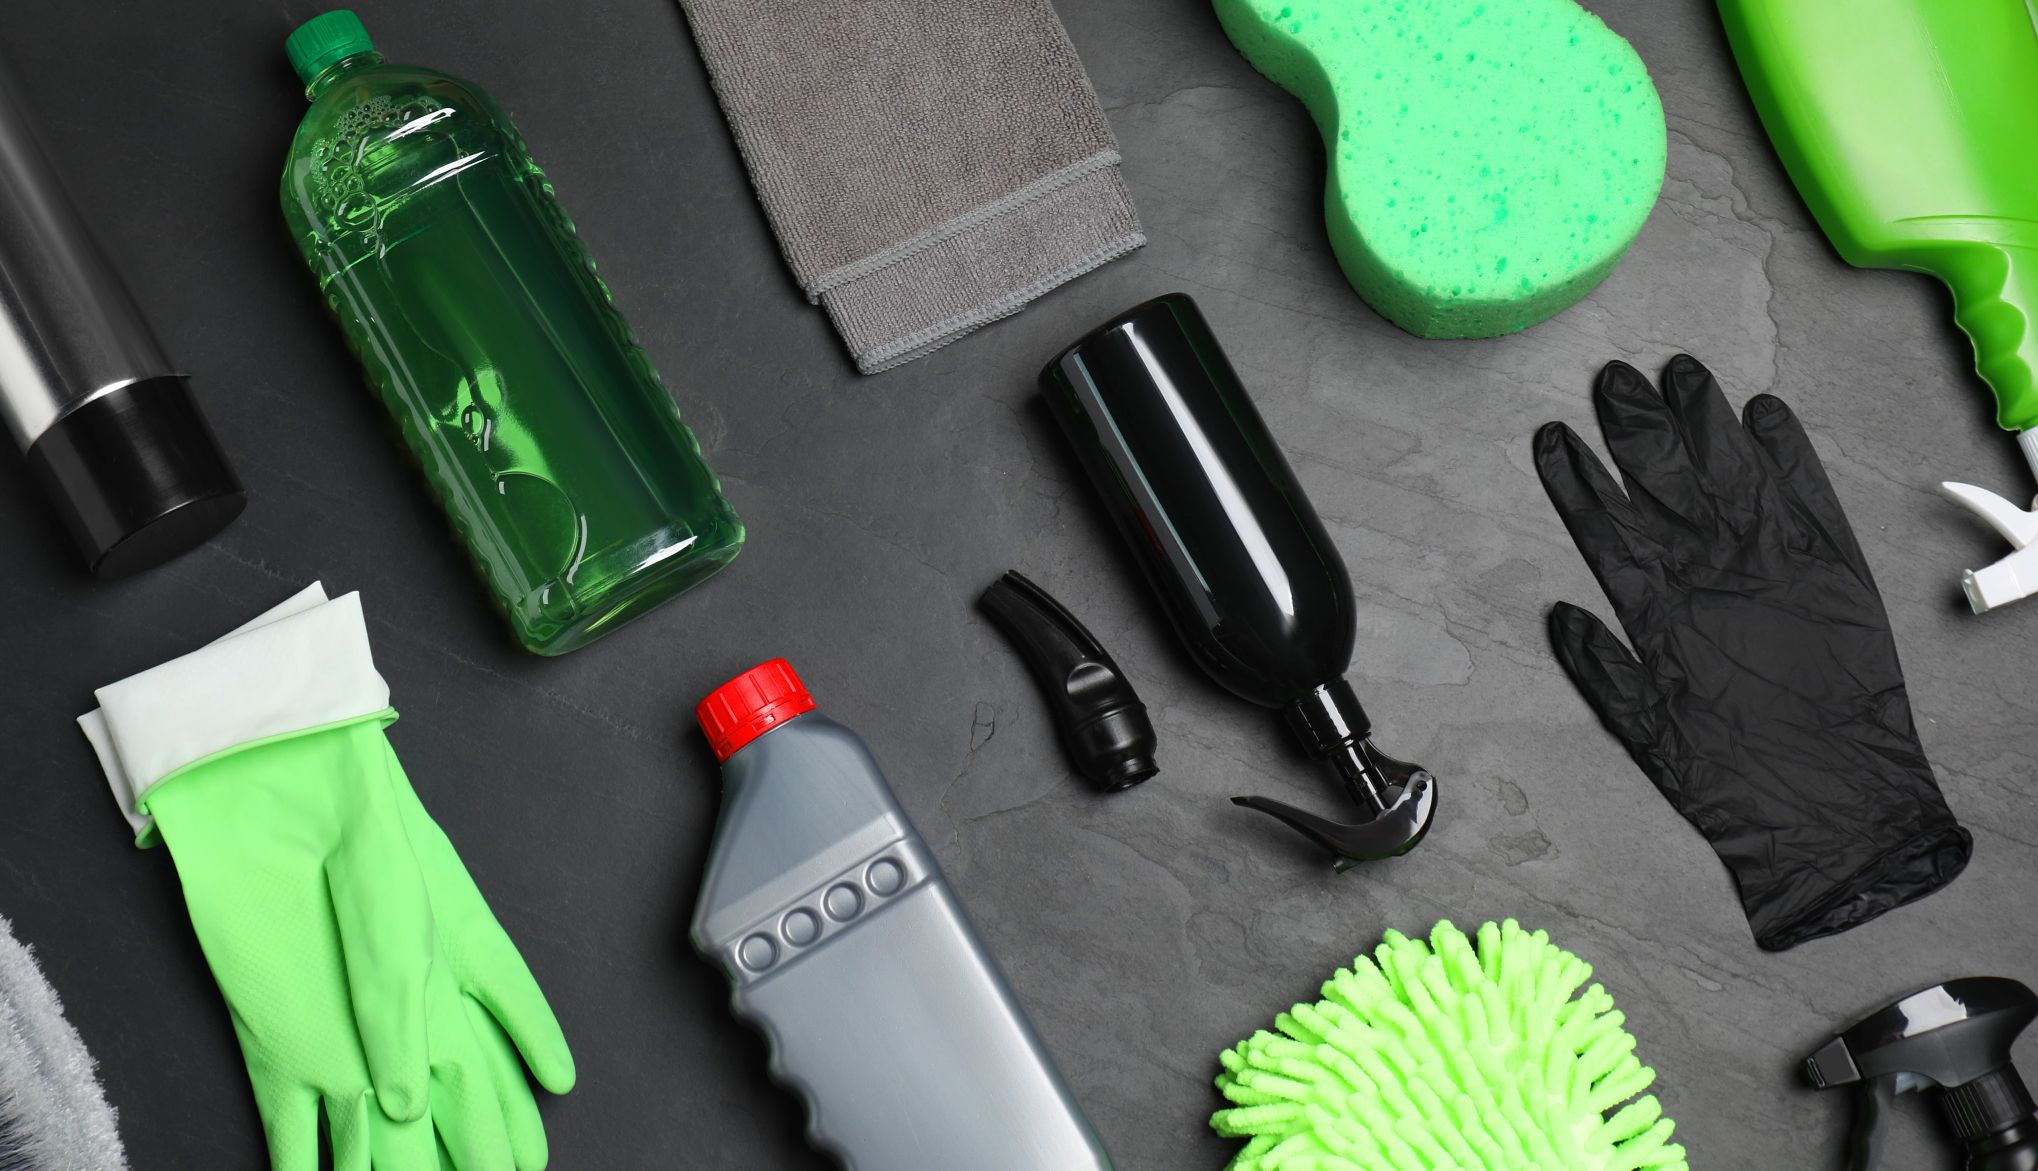
 

spinner image Towel, sponge, gloves, bottle of cleaner on grey table
Getty Images

THE BASICS

1. Maintenance matters

Keeping your car clean isn’t simply a matter of aesthetics, it’s also a requisite component of a regular maintenance schedule. “If you actually look it up in your owner’s manual, they tell you that you need to do it,” says Larry Kosilla, founder of Ammo Auto Care and star of the popular YouTube car detailing channel Ammo NYC. According to Kosilla, this includes protecting the paint and body from corrosion, and maintaining drainage tubes on the car’s exterior that prevent water from backing up and entering the car or causing damage elsewhere in the vehicle’s systems. “Just like in your house, you have drainage from your gutters, but if the drains are clogged, it either goes back up into the roof or it goes down the wall,” he says. Kosilla recommends cleaning your car every other week and giving it a full detailing at least twice a year.

2. Curate a cleaning kit

It makes sense to invest in the proper tools, such as “a little cheap electric pressure washer, some buckets and brushes, some good microfiber towels,” says Jessica Tran, owner of Studio 94, a car care shop in Southern California, who posts car detailing content to social media where she has a following of more than 1.7 million. “You should really get good tools for about 200 bucks, and that should last you 20 of your own washes,” she says. You can read up on the best products for the job from a reputable tester such as Car and Driver, Wirecutter or Good Housekeeping. Some products may work in your home and your car, says Carolyn Forté, executive director of the Home Care and Cleaning Lab at the Good Housekeeping Institute, which oversees product testing for the magazine. Forté says surfaces in your car may be exposed to greater extremes of heat and cold than similar materials in your home. If your car lives outside, some materials can freeze in the cold and bake in the hot sun. “We look at regular cleaning products in terms of how easy it might be to use in the car,” Forté says. “But remember, you may need products specifically tailored to a car because they do at many times provide advantages like UV protection and other ingredients to help guard against fading or cracking or drying out of different car materials.”

3. Microfiber is best

Wash mitts, sponges and chamois cloths may have been standard equipment in your car wash kit. Now is the time to ditch them. “Sponges hold a whole lot of dirt. And people aren't really throwing sponges into the washing machine. They’re kind of just leaving them in the bucket and waiting for the next wash,” Tran says. “And in that time, it’s accumulating a lot of dust sitting there or it’s picked up dust from the previous wash. And because it’s a flat surface, the dirt will sit on the surface of the sponge, and the next time you wash your car, it’ll end up scratching it. Same thing for the chamois.”

Instead of sponges, mitts and chamois, it is best to use quality microfiber towels. And buy them in large quantities, because you’ll need quite a few for each wash. “Microfiber is the safer choice because all the dirt can be entrapped within the long fibers of the microfiber” and lifted away from your paint or other scratchable surfaces, Tran says. “And then microfiber is also machine-washable, so you can get rid of all the previous wash residue before you start on the next one.” Detailer’s Preference is a great quality pick. Amazon Basics is a great budget pick. Mequiar’s is right in the middle.

4. Color-code your towels

For professional results, Kosilla recommends separating your microfiber towels so certain towels get used for certain jobs, preventing the towels that touch the dirtiest places low on the car — the wheels, the inside of the doorjambs — from ever touching easily damaged surfaces such as the paint or the interior. Kosilla uses lighter towels for more sensitive areas, and darker ones for the filthier regions. “You really want to separate them,” he says. 

5. Keep clean in dirty weather

Most people wash their car when the weather is pleasant. But your car actually gets dirtier on days when it is rainy or snowy or icy, because driving throws up muck or salt from the roads, and even seemingly pure rainwater picks up and deposits debris from the atmosphere. “The irony is, the time you should be washing more regularly is in wintertime, and people don't do that,” Kosilla says.

6. Protect yourself

If you use chemical cleansers, make sure your skin and vulnerable areas are covered. Kosilla recommends wearing nitrile chemical resistant gloves, protective eyewear and a hat to keep hair out of the cleaning process.

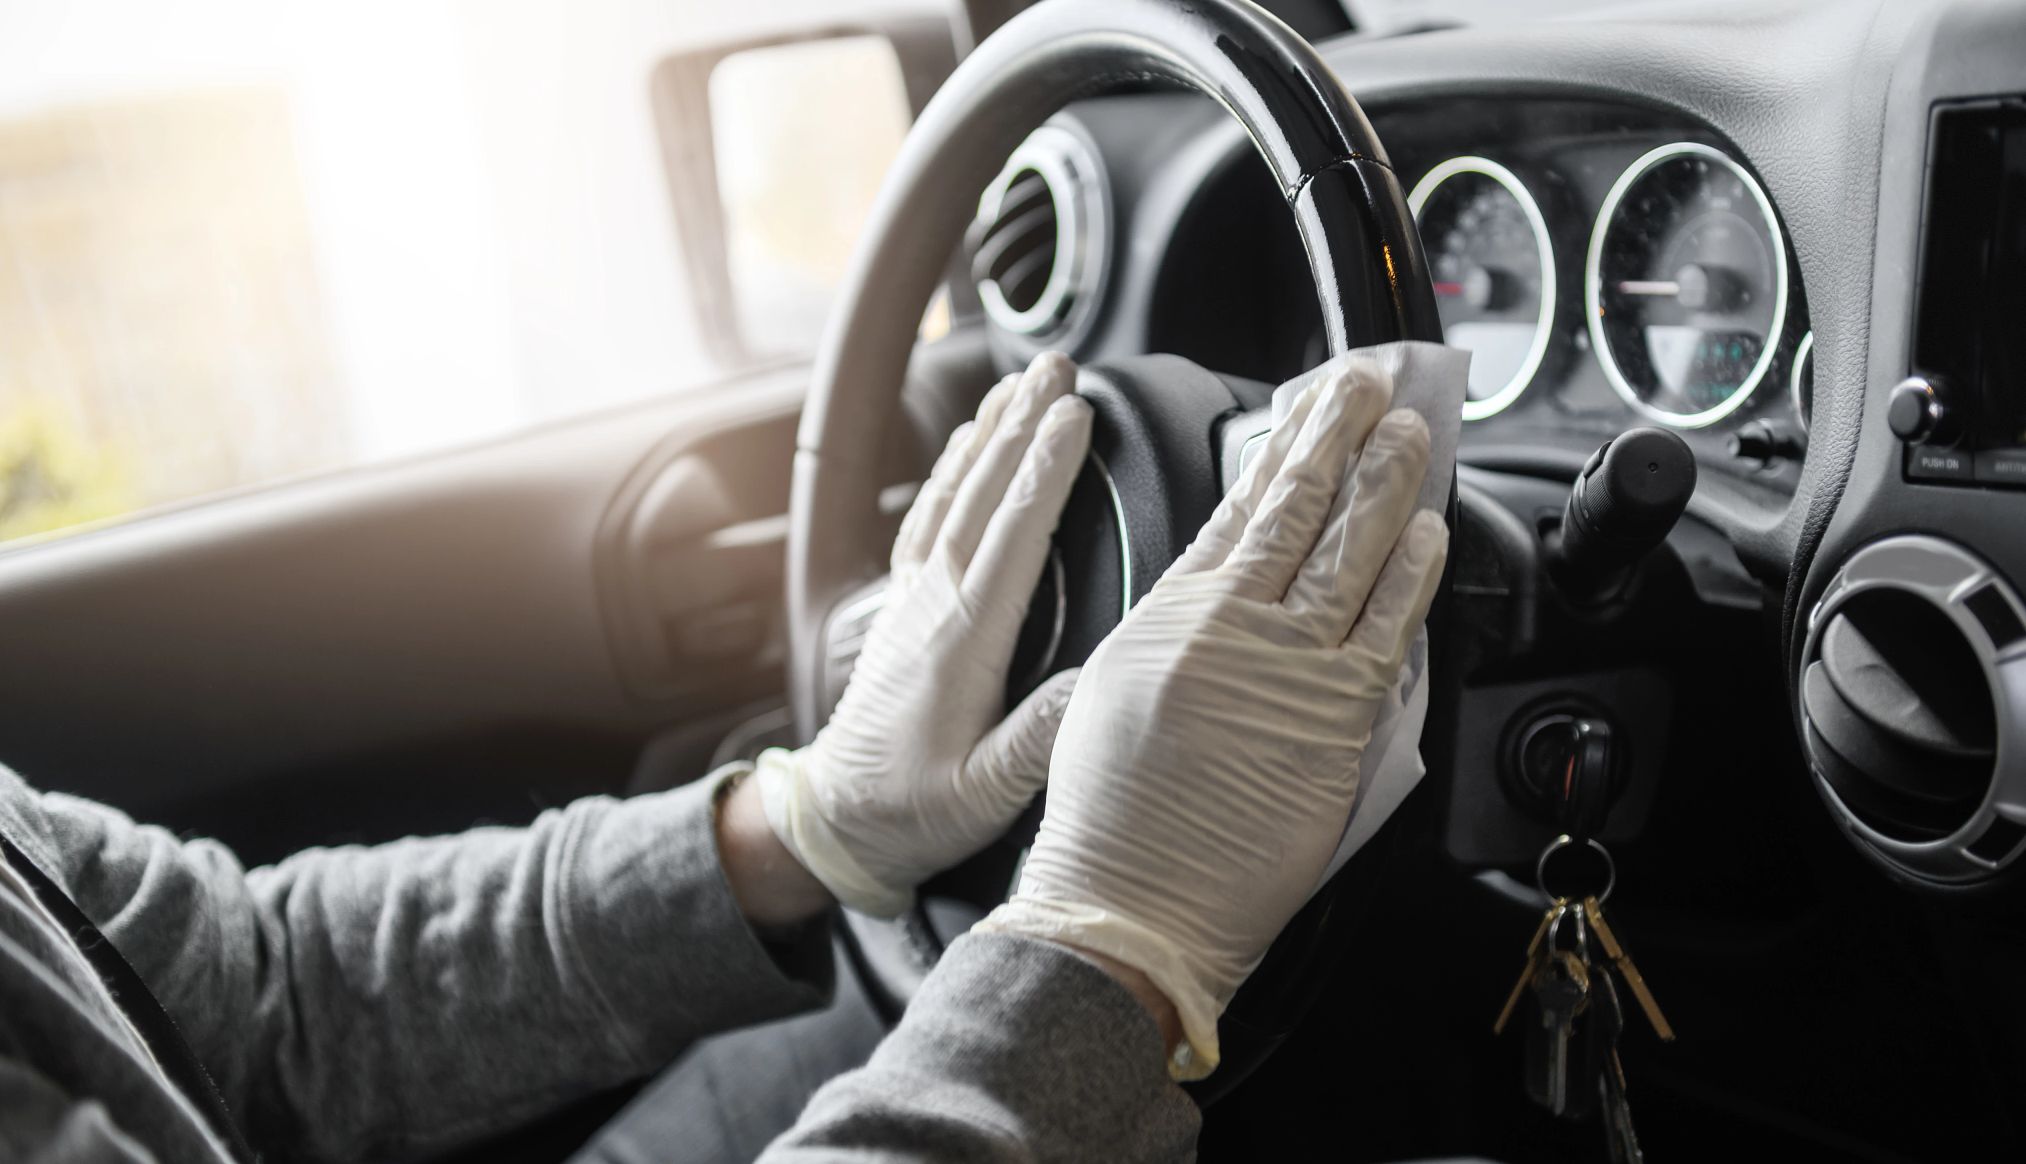
 

spinner image Person wearing gloves wiping down steering wheel inside vehicle
Getty Images

CLEANING THE INTERIOR

7. Focus on touch points

It makes sense that the places you touch most frequently are going to be the dirtiest places in your car. Your steering wheel, transmission shifter and door handles can be as germy as a public toilet seat, or even more so. It’s important to clean these places thoroughly.

8. Start smart

Though people have a tendency to wash the outside of their vehicle first, it may not be the best place to start. “If you do the outside first, you’re going to have a muddy area around the car, and you’re going to track all of that into the inside of the car,” when you clean it, Tran says. If you wait to do the inside until you’ve cleaned the exterior, you also run the risk of introducing dust from the floor or floor mats to the just-cleaned exterior of the car.

9. Get the full picture

Start by surveying the interior and prepping it for a deep clean by taking everything out of the car. “Open up the front and back doors and the hatch,” Kosilla says. “While you’re doing it, you’re assessing the interior, looking at everything you’re pulling out.” He suggests you “have a garbage can nearby” to toss trash and other items. This is also the time to remove the floor mats and take them some distance away to wash them without splashing back on the car’s interior or exterior.

10. Check under the seats

According to Kosilla, the hidden areas of your car’s interior are likely to be the source of unappealing odors or other problems, such as attracting bugs or rodents. He recommends starting your cleaning routine by sliding the front seats all the way forward on their tracks and checking from the back seat to see what is under there.

11. Don’t be a drag

While cleaning the interior, if you’re moving a vacuum nozzle, cleaning materials, hose or yourself from one side of the vehicle to the other, make sure that you go around, instead of across the interior or exterior of the car. “You should never drag across the car going from the driver’s side to the passenger side,” Kosilla says. “But this is what people do, and things get wet or messy, dragged across the carpet or the seats. Now you have extra work to do.”

12. Steam your way out of a mess

Gum and gummy candies can be difficult to remove from your car’s interior, as can lingering spills of milk or ice cream. For these, Tran recommends using a small appliance you might have around the house. “If you have access to a steamer, it’s fantastic for odors and it’s fantastic for melted gummy candies, melted gum typically,” she says. “I steam the area and slowly lift [the problem material] up, and then we can pull it off and wipe it up with a towel.”

13. Nix the disposable wipes

For the best, most professional effects, Tran advises against using any product that comes in a cylindrical or rectangular wipe dispenser, like those often used for baby wipes. Though the single-use category can be convenient, the way in which the cleaning product is distributed in these internal rolls can be inconsistent and can damage the surfaces you’re trying to protect. “The chemical saturation in those individual wipes can be soaked,” Tran says, containing far more product than you need. “For example, if you have a leather interior, leather absorbs water like crazy. And in the rare case that there is too much product on that wipe, the leather will absorb it and it can do something called swell. And because it's an organic matter, once it swells, it's not coming back. And you got this weird poofy spot on your seat.”

14. Opt for detailing spray

Instead of single-use wipes, Tran recommends using a general purpose all-in-one interior detailing spray, with ultraviolet protection, and a microfiber towel. She cautions strongly not to spray directly onto the surface you’re trying to clean, as you may use too much product or distribute it unevenly. “Spray onto the towel, and then take that and wipe the surface,” she says. Kosilla’s company, Ammo, makes detailing sprays, including ones specifically for leather, plastic and vinyl. Meguiar’s and Chemical Guys are also recommended products.

15. Care for the trim

The plastic trim pieces inside your car need care and protection to prevent fading, cracking and decomposing. Tran recommends a water- or silicone-based solution  and says petroleum-based products “typically dry out trim, and they're really streaky and don't leave a nice finish.” To minimize ozone and UV light damage, choose the proper type of solution to clean plastic trim. 

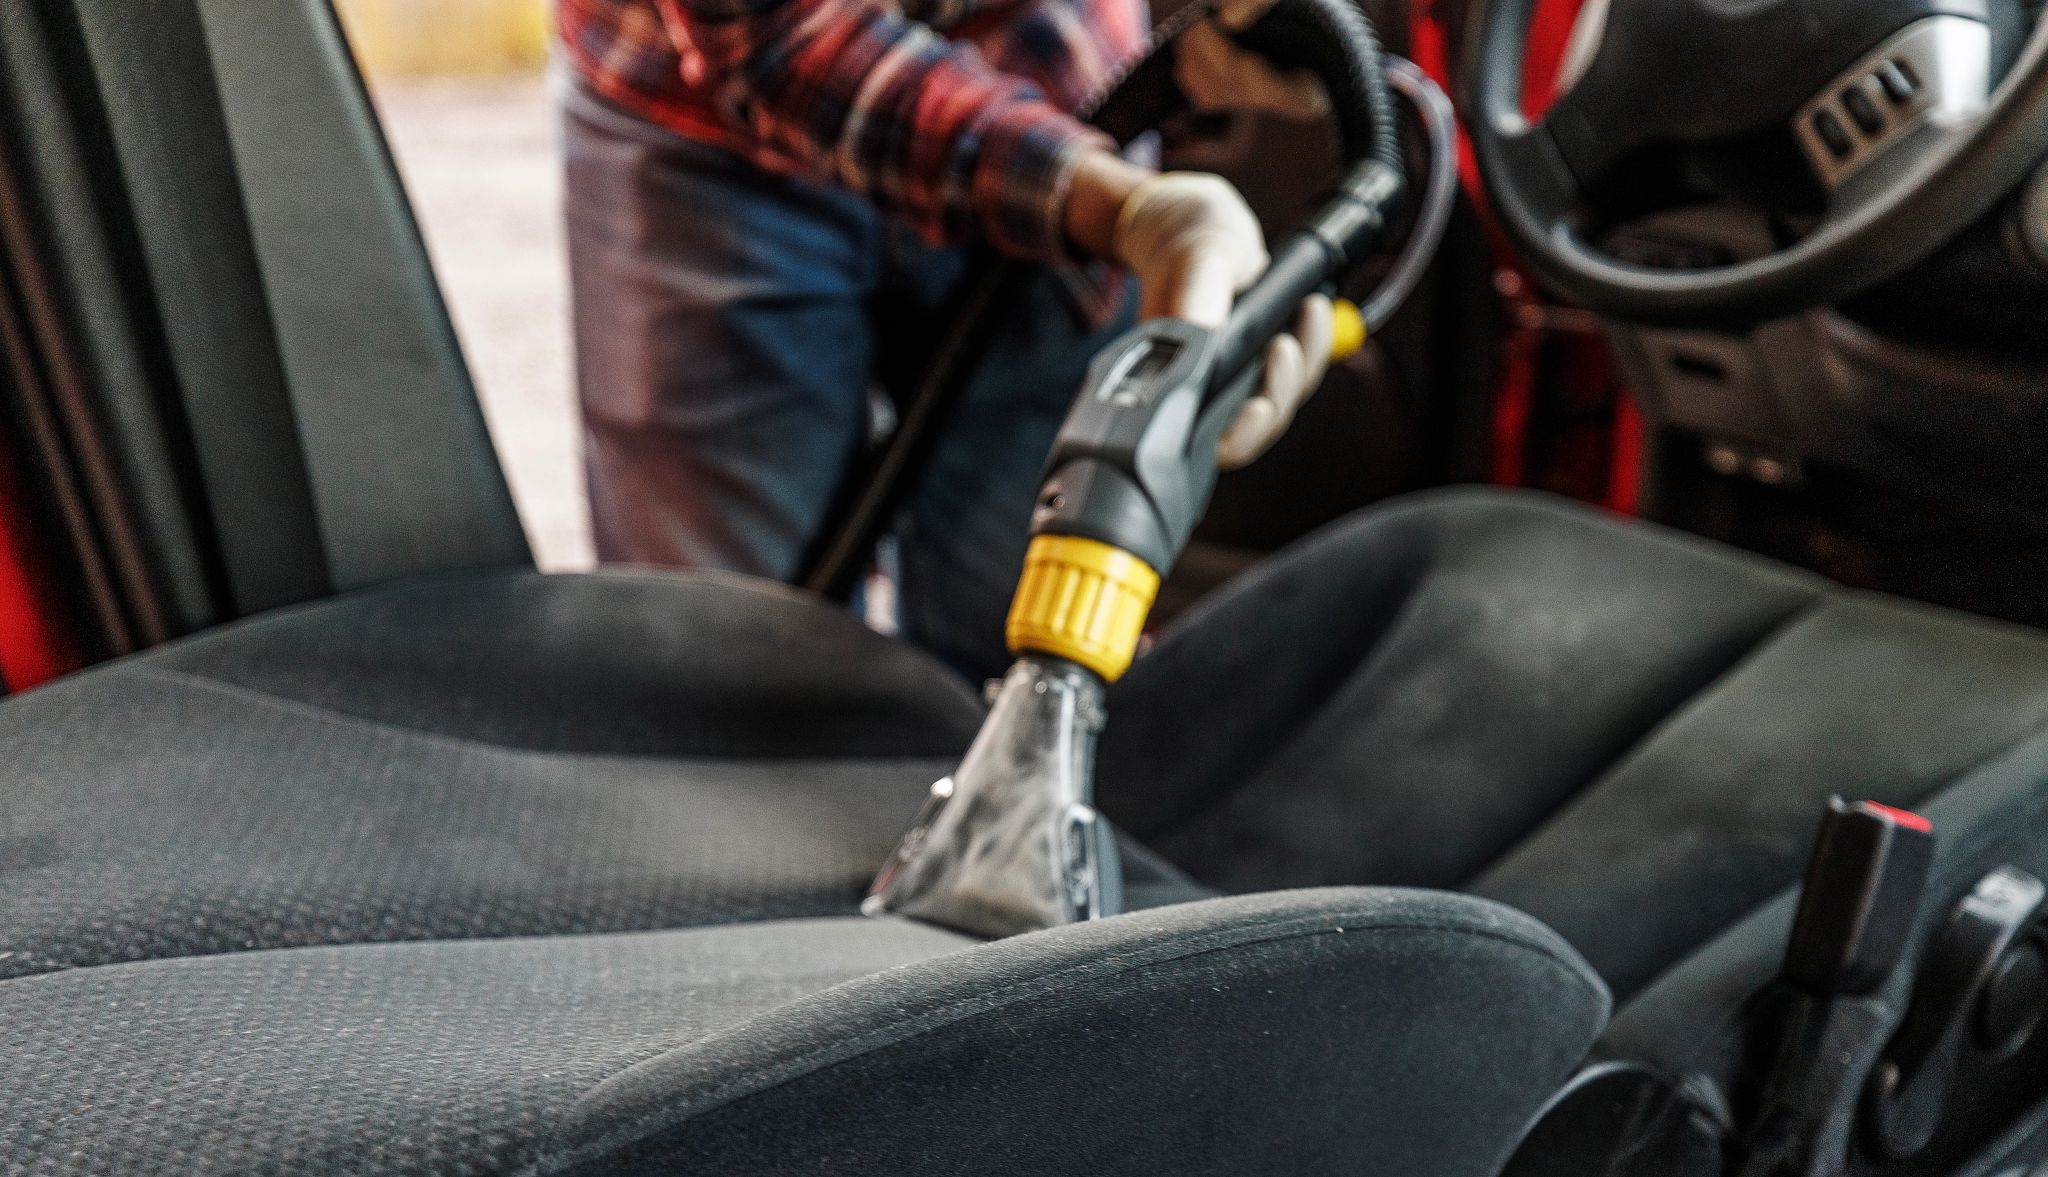
16. Invest in vacuum attachments

Most professional detailers recommend using a shop vac to remove dirt and debris from the interior of your vehicle. Whatever type of vacuum — larger or handheld — that you use, Tran says it’s important to invest in the proper attachments. “Look for a crevice tip,” she says. “A crevice tip is going to help with detailing because you can get into the tight corners in between the seats, you can get underneath the seats, you can get into the cupholders. The tip of the vacuum is kind of what makes it a detailing specialty.”

17. The devil is in the detailing

“You definitely need detailing brushes. That is one thing I wouldn't skimp on,” Tran says. Natural bristle brushes, used dry, can be implemented throughout the interior to remove dirt from vents, seams, between buttons and in crevices around the steering wheel, cupholders and other equipment. “We’ll just take that brush and just go in there and dust,” she says. “That cleans it up big-time to the point where all I need to do now is just take a damp towel with my interior cleaner and wipe right up to get in between all those buttons and such.” Yisharry Li makes a good budget five-piece set. Chemical Guys’ three-piece set is professional grade. Proper Detailing lands right in the middle.

18. Be gentle with the headliner

The headliner is the material that covers the ceiling of your car’s interior. It is usually made of fabric but can be leather. “If you want to clean the headliner, spray onto the microfiber cloth first, then blot and dab and do very light scrubbing,” Tran says. This delicate treatment is rooted in the area’s general fragility. “You don’t want to put too much force when you’re scrubbing the headliner, because all these are glued on, so if you scrub too hard, you’re kind of starting to detach the headliner from the roof.” Spraying product directly onto the headliner can have a similar effect, according to Tran, saturating and delaminating the glue that holds it in place.

19. Glass cleaning calls for new gloves

The windows and windshields can be difficult areas to clean because they will display any imperfection. “The Achilles’ heel to detailing is glass, because you can’t make any mistake because you see through it, literally,” Kosilla says. To avoid contamination from oils or dirt or anything else you may have picked up while cleaning, he recommends donning a fresh pair of gloves before starting the glass.

20. For glass, water works best

“The best way for a streak-free finish is to use water,” Tran says, because glass heats up outside, and if it’s warm when you're using a window cleaner, the heat will evaporate the water out of it. “So it’s not giving the solvent time to do its job, and the solvents are leaving a chemical trail on there,” she says. A damp microfiber cloth, and another for drying, should do the trick most of the time.

21. Reaching the interior windshield

To get the best access to the front interior windshield, Kosilla recommends working  from the passenger side. This way, he says, “you don’t have the steering wheel in front of you to limit access to it.” If you’re right-handed, he recommends placing your left hand on the passenger side seat, providing pressure and the ability for your right hand to lie flat against the glass. Again, a damp microfiber towel will do the trick.

22. Remove stubborn pet hair 

Removing pet hair can be difficult, even with a vacuum or brush. Tran recommends a rubber squeegee blade or roller. “The rubber just attaches itself to the hair based on a molecular charge, and it's a little bit sticky,” she says. “So the rubber brushes help remove hair better.” Uproot makes a quality set. SM Arnold makes a budget version. Chemical Guys has a midrange option.


spinner image Car wash hose washing outside of orange vehicle
Getty Images

CLEANING THE EXTERIOR

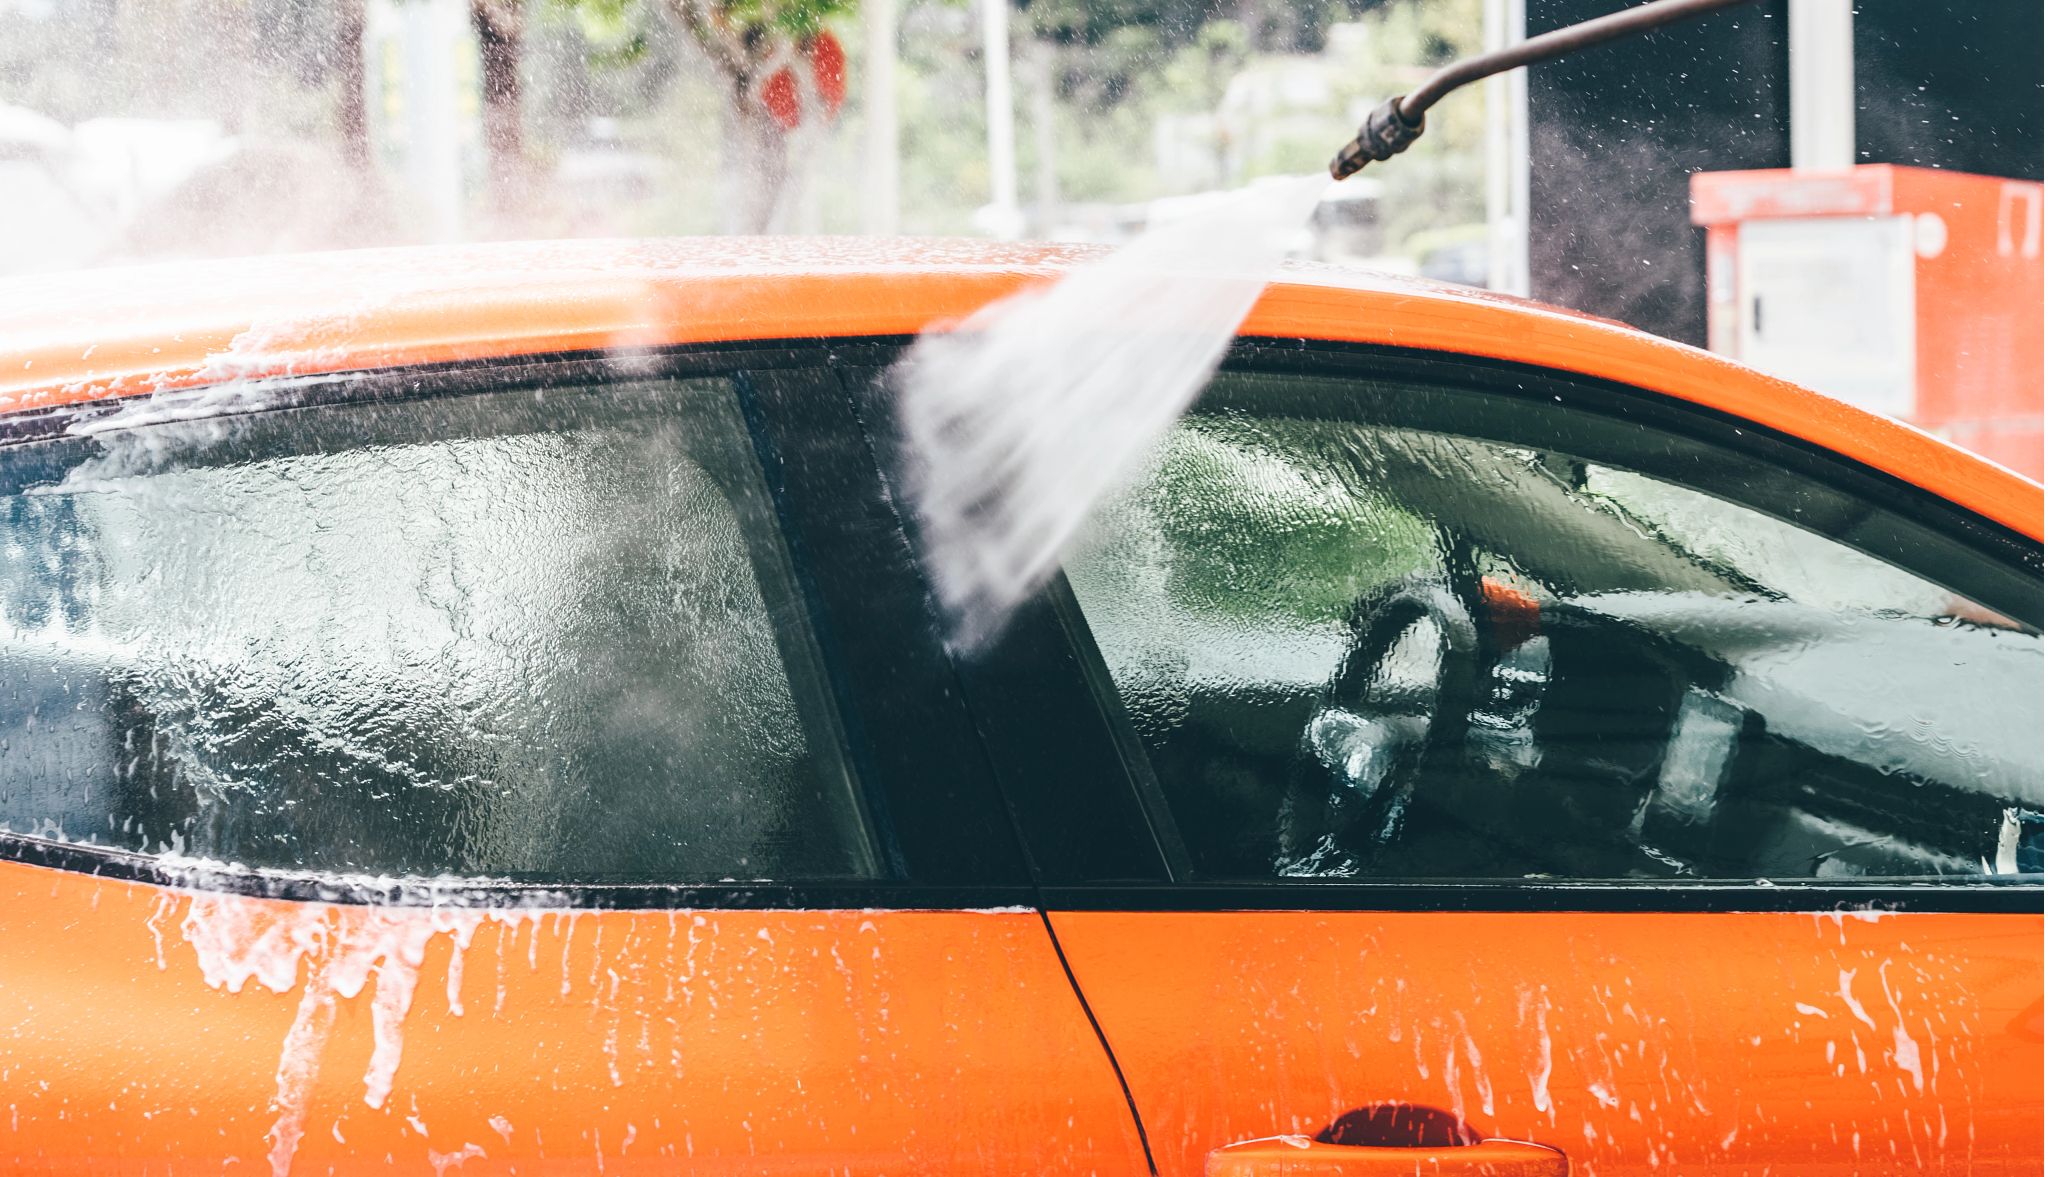
23. Start with a top-down rinse

Once you begin washing the rest of your car, remove as much dirt as possible with a top-down initial rinse. Use a power washing tool or your garden hose’s jet on its strongest setting. “This is when you want to knock off as much dirt and debris as you can so that when you go for the wash, you’re not dragging dirt all over the paint,” Tran says.

24. Check under the hood

The area under the hood of your car needs care and cleaning to stay free of debris buildup. Even small leaves or pine needles can hold moisture and cause corrosion, prevent the proper functioning of airflow into or inside your vehicle, and provide nesting areas for insects. In newer cars, Kosilla recommends using a power washer, though in older cars, he says to simply “take a damp towel and wipe down the engine real quick.” He adds, “This is also the point where I usually check the air filter and just make sure everything is functioning.”

25. Focus on lubrication

Don’t attempt to remove a stain or scratch by furiously wiping. Kosilla says that any scrubbing motion on your car’s exterior, in the absence of proper lubrication, can lead to further damage. Lubrication makes the process of cleaning easier and smoother. “Lubrication is the number one mistake that most people make. They don’t have enough lubrication,” Kosilla says. “It's like running an engine with no oil. Agitation just has to be lubricated.”

26. Use straight lines

If you wash the exterior of your car using circular movements, you risk creating swirls or rounded scratches in your paint, and these are much more noticeable, as well as difficult to remove or correct. “The old days of the Karate Kid ‘wax on/wax off’ is actually terrible for your paint. So don’t do that,” Tran says, referencing the round motions favored by sensei Mr. Miyagi in the 1984 film. This goes for removing water, too. “When it comes to drying the car,” Tran says, “grab a good microfiber drying towel and dry again in straight lines.”

27. Start with the wheels 

It is common practice to start at the top of the car and work your way down, so the dirt flows with gravity. But there is an exception to that rule. “Start with the wheels first,” Tran says. “That’s the dirtiest part of the car. And so if you wait [until you finish the exterior to wash them], a lot of that dirt is going to splash back on to the car in the wash process,” she says. “But if you do the wheels first, and then wash the car, even if all the dirty, soapy water from the car is going to get on the wheels, once they’re clean, all you have to do is rinse.”

28. Avoid acid 

Many wheel cleaners contain acids. These can be very effective for removing stubborn stains, but they pose great risks. According to Tran, they should be used only by professionals who are familiar with their capabilities. “My biggest advice is get an all-in-one wheel cleaner, a nonacid wheel and tire cleaner,” she says. “Acid-based wheel cleaners can work really, really well; however, you can mess up the wheel pretty quickly. ” 

29. Use a wheel cleaning mitt

Tran says many contemporary wheels are delicate and need extra care. “A lot of wheels these days are also clear coated, just like your paint, so they can swirl and scratch,” if you don’t clean carefully. This is especially true, she says, “if you have shiny gloss black wheels.” To protect your rims, she recommends purchasing a microfiber wheel cleaning mitt. Chemical Guys, Griot’s Garage and Autoglym, among other brands, all have quality products. “It sits over your hand like a little glove,” she says, making it easier to poke into all the little nooks and crannies.” As with cleaning other parts of your car, she reminds washers to clean in straight lines.

30. Consider tire gloss

After you finish the wheels, for a professional look, Tran recommends that you scrub down your tires as well. Then feel free to apply some tire gloss, of your choice. “If you don't have a properly clean tire, whatever tire shine you put on there, it's not going to look that great,” she says. She recommends a matte finish. “Nobody really likes the super glossy tires anymore,” she says. “But it’s still important to put on because these contain conditioners and inhibitors in them, like dust repellent. So it keeps your tires healthier for longer.” 

spinner image AARP Membership Card

AARP Membership — $12 for your first year when you sign up for Automatic Renewal

Get instant access to members-only products and hundreds of discounts, a free second membership, and a subscription to AARP the Magazine.

31. Bugs begone

If you have squished bugs in the grille or front bumper of your car, a special bug remover treatment will help get rid of them without excessive or potentially damaging scrubbing. “The way those work is, after you rinse the car off, I would say spray the bug treatment onto the grille and then save that panel for last when it comes to the washing part,” Tran says. “That way, you don't introduce too many bugs into your process.” McKee’s is the gold standard. 3D is a midrange choice. Meguiar’s is a budget option. 

32. Choose the proper soap

A car washing soap should be properly pH balanced — not too alkaline and not too basic. “It should be advertised on the label itself and say it’s neutral for the car,” Tran says. “And the reason is, if it’s a super alkaline soap, over time, it can build up a residue and it can oxidize on your car and it can damage the paint. And if you get a super acidic car soap, then it’s very harsh on your paint, and it could eat away at the clear coat.” Car and Driver, Motor1 and Autoblog all provide expert product guides to help you choose one.

33. Try the single-bucket method

A two-bucket method — one for soap and one for rinsing — has long been recommended for washing the exterior of a car. But Kosilla advocates for using only one bucket of soapy water for the exterior. “You get five or six clean microfiber towels,” Kosilla says, and “you put them in a bucket. You put in a very, very, very, very lubricated car cleaning product, not dish soap.” Remove a soapy towel from the bucket, but never rinse it out or return it to the bucket. “Once that towel comes out, that’s it. It is never going back in the bucket,” Kosilla says. Set it aside to start a pile you will put through the wash. “This way you are not reintroducing junk into the clean wash water bucket,” Kosilla says. “If you just eliminate contamination or the cross contamination potential, you just eliminate all your scratches. It’s a no-brainer.”

34. Fold as you go

Fold your towel in quarters, and as a quadrant of your towel gets dirty, turn it to a new, clean fold. “You’re going to go until that whole entire towel becomes soiled, which will happen,” Kosilla says. “You’ll probably go through three or four towels. Maybe six or seven if your car is very dirty.”

35. Lather, rinse and dry

If you have the stamina, and it’s not so hot outside that the soap is drying on the surface of the car, you should be able to continue drawing soapy microfiber towels out of your bucket, folding and unfolding as you use them, until the entire car is sudsed up. Then rinse the soap and wait until the water coming off the car runs clear. It’s time to remove the water in preparation for the next stage. “Wash the whole car. Then you can rinse the whole car. And then you can dry the whole car at once with a good microfiber,” Tran says. She suggests using large microfiber drying towels for this stage.

36. Avoid friction when drying

Counterintuitively, even getting the water off your car should be accomplished in a way that avoids friction. “Any time you touch the car, you should have lubrication,” Kosilla says. He recommends something he calls a drying lubricant. “Get your microfiber towel wet, and then you wring it out. Then you spray drying lubricant on it.” Clean Garage has a list of products that can help.

37. Prevent water marks

Difficult-to-towel-out areas such as your side view mirror housings, your body-side moldings, your license plate holster and even the gaskets around your headlights can hold drops of water that, if you do not remove, can slosh out and create drip marks on your perfectly clean paint. If you want to avoid these, Kosilla recommends purchasing a small, portable, combination vacuum/blower to get the water out, then drying the areas with a lubricated towel. “Air blowers can blow the water out of the crevices,” he says. “I encourage that.”

38. Seal the deal

According to Tran, the days of traditional car wax — typically natural carnauba wax — are over. Instead, she recommends applying a car sealant or car paint sealant, which is a tougher, longer-lasting synthetic product, two to four times a year. Car and Driver offers a list of these products. “I would definitely recommend sealing your car every three to six months,” Tran says. “And if you get a spray sealant, it takes five minutes to apply, and it can last you six months, easily.” Read the instructions before selecting a sealant, and choose one that is relatively easy to apply and doesn’t require a separate buffing or polishing tool. Tran’s favorites are those that can just be sprayed on and wiped off. Once the car is clean, grab a good microfiber towel, and do a quick pass back and forth, misting the panel. “Then spray one mist onto your towel,” she says, “and then wipe in straight lines.”

39. Beware of brake dust

Your car’s brakes work by squeezing metal pads against a metal rotor. The friction between these surfaces causes the release of dust, which consists of fine shards of metal. These shards can, if they’re picked up on a towel or your gloves, scratch surfaces of your car. This is another reason to keep your wheel towels separate from other towels and to take care of your wheels first, to eliminate the chance of this dust entering the closed-loop system of your car cleaning. “If you go up and you wipe your clean car with a brake towel, you just cross-contaminated, and all your work is out the window,” Kosilla says.

40. Getting in at the ground level

If you live in a region where it rains or snows frequently, it’s more important to clean the underside of your car regularly. Caked-on dirt can trap water and clog drains and cause corrosion, as can salts used to help keep roads free of ice. If you don’t have an undercar power washing tool, Kosilla has an easy fix. “You can just take a garden hose, duct-tape it to a broomstick, and then lock on your garden sprayer and just hold it under there,” he says. “Take it up and down under the car, and you can make a little makeshift undercarriage wash.”


spinner image Person cleaning driver's seat of vehicle with a hose
Getty Images

MAINTENANCE BETWEEN CLEANINGS

41. Don’t delay, clean up right away

The car is a unique environment, a typically closed system that is subject to extremes of temperature, so stay on top of spills and other problems. “You don't want to let things linger,” Forté says. She recommends keeping an enzyme-based stain cleaner or remover on hand in the vehicle, in case spills happen, to help eliminate bacteria. (Pull over to a safe spot before using it.) “If you don’t get rid of that bacteria, over time, even if you feel like you cleaned it, it can keep coming back, especially when it’s hot and humid inside the car.”  

42. Click your heels together

Your shoes pick up all manner of detritus, so to avoid trailing excess dirt and mud into your car, Kosilla suggests a simple trick. “When I get into the car, but before my feet have entered the car yet, I tap my feet together to get any stuff off of them,” he says. “It takes probably less than a second for me to do that. And I just knocked off a chunk of stuff I don’t have to carry into the car.”

43. Control the clutter

Keep your car tidy and organized between major cleanings, Forté says. “Make sure you’ve got a trash container in the car. It helps contain some of the mess,” she says. “Keep things like a pet hair removal tool in the glove compartment, or even some cleaning wipes in the glove compartment to take care of sticky residues on your steering wheel or on the door handles or anything like that. And certainly, if groceries fall over, or kids drop a milkshake, that needs to be tackled right away.”

44. Stay organized

Forté recommends using bins and other containers to keep organized. “Put things like reusable shopping bags in a plastic bin in the back, so they’re neat and they’re not just thrown all over the floor.” She adds, “If you keep everything neat and organized, it’ll look cleaner, and you’ll be able to remove it more easily when it is time to clean it.”

45. Consider upgrading to a ceramic coating

Tran recommends professionally applied and highly durable ceramic coatings, which can last two to five years. “It's silica mixed in with some carrier resins,” she says. “It is essentially like adding another layer of clear coat to your car [the shiny, transparent layer of gloss over your paint job] as a sacrificial layer that’s going to take the brunt of the damage from the sun or swirling from car washes and such,” she says. These coatings can be costly. Her shop charges $1,200 to $2,000, depending on the durability of the coating and the size and paint of the vehicle. 


spinner image Image Alt Attribute

AARP Membership— $12 for your first year when you sign up for Automatic Renewal

Get instant access to members-only products and hundreds of discounts, a free second membership, and a subscription to AARP the Magazine. 

Join Now

                                  More Members Only Access


Unlock Access to AARP Members Edition

Join AARP to Continue

Already a Member?